If you own a pool but find yourself limited to a few laps before hitting the wall—literally—you’re not alone. Many pool owners feel frustrated by the constraints of their backyard setup, unable to get a meaningful swim workout without a full-length competitive pool. As home fitness solutions continue to surge in popularity, more people are looking for ways to transform their existing pools into versatile training environments. Enter the pool swimming jet: a powerful device that generates a continuous, adjustable current, allowing you to swim in place indefinitely without ever reaching the end of your pool.
This guide walks you through everything you need to know about installing swim jets to unlock effective pool workouts at home. Whether you’re a competitive swimmer maintaining fitness, a triathlete in training, or simply someone seeking low-impact cardiovascular exercise, swim jets can revolutionize how you use your pool. We’ll cover the full installation process from start to finish, explore the benefits these systems deliver, and share training tips that help you get the most from every session. By the end, you’ll have a clear roadmap for turning your pool into a personal aquatic fitness center.
Understanding Swim Jets and Their Benefits for Pool Owners
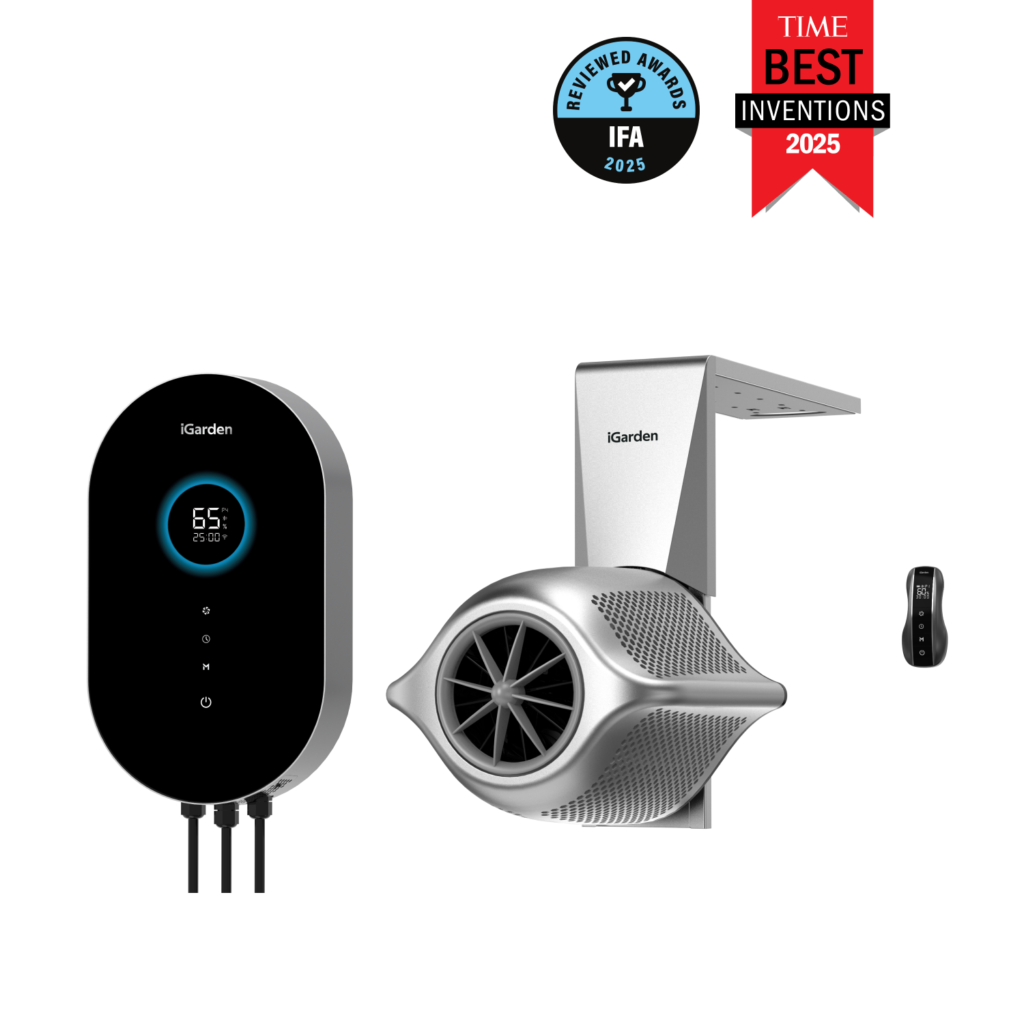
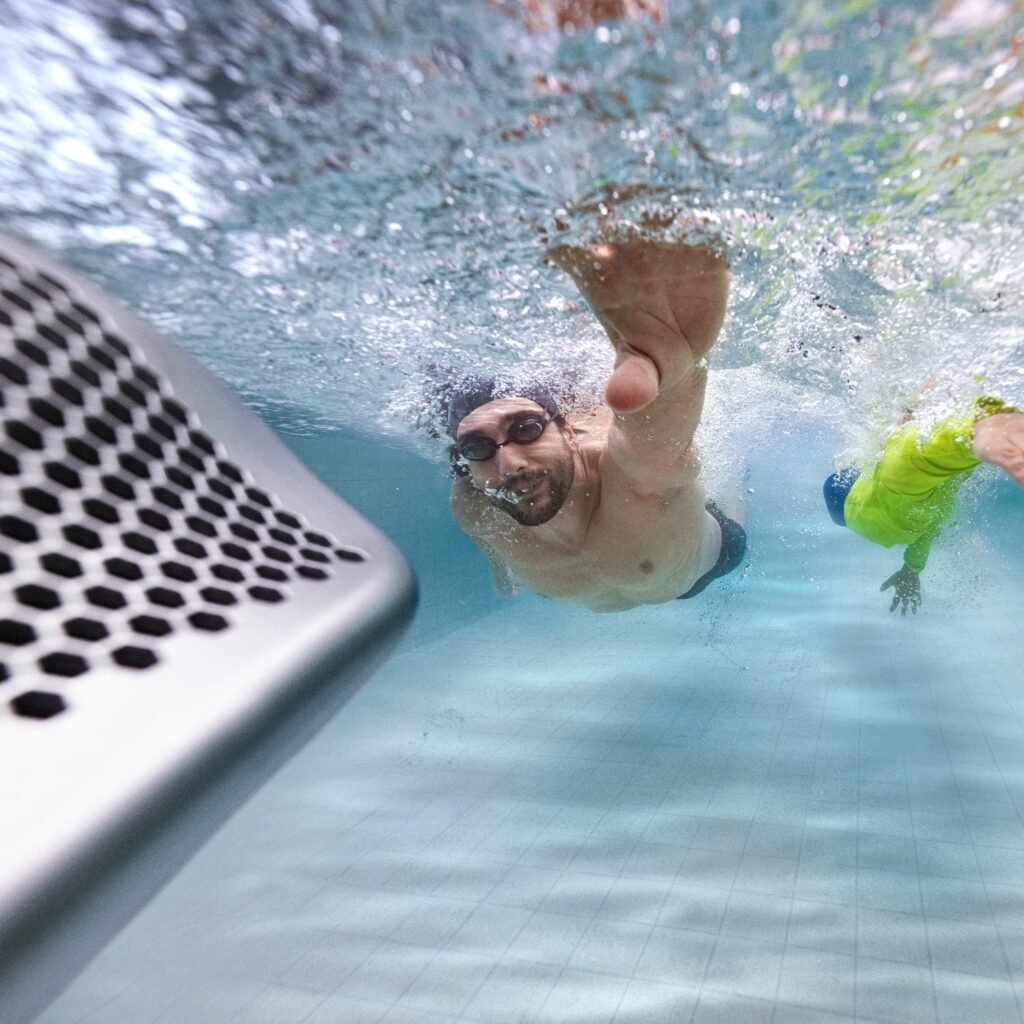
A pool swimming jet is a motorized device installed in your pool wall or mounted externally that propels a powerful, focused stream of water against you as you swim. This continuous current effectively creates an “endless pool” experience, letting you swim in place much like running on a treadmill. The adjustable nature of modern swim jets means you can dial the resistance up or down to match your skill level, making them suitable for everyone from casual swimmers to elite athletes.
The benefits extend well beyond convenience. Swim jets enable year-round training regardless of weather when paired with a heated pool, eliminating the seasonal limitations that often interrupt fitness routines. They deliver exceptional cardiovascular conditioning by allowing sustained, uninterrupted swimming sessions that would otherwise require a 25-meter or longer pool. Your existing pool—even a compact one—becomes a fully functional training hub capable of supporting endurance work, sprint intervals, and stroke refinement. Models like the P Series Swim Jet have gained popularity for their variable power capabilities, allowing swimmers to progressively increase resistance as their fitness improves. For pool owners seeking to maximize the return on their investment, swim jets transform an underutilized backyard feature into a dedicated fitness tool that the entire household can benefit from daily.
See also: Smart Tips and Tricks for Using Home Automation Control Systems
Pre-Installation Considerations for Your Pool
Before purchasing a swim jet system, you need to evaluate whether your pool can accommodate one effectively. Start by measuring your pool’s dimensions—most swim jets require a minimum straight swimming distance of about 8 to 10 feet from the jet nozzle to the opposite wall, though longer pools provide a more comfortable swimming experience. Water depth matters too; you’ll want at least 3.5 to 4 feet of depth at the installation point to ensure the current hits your body at the proper angle during freestyle or backstroke. Examine your existing plumbing infrastructure, noting pipe sizes, pump capacity, and available connection points, since some installations tie directly into your pool’s circulation system while others operate independently.
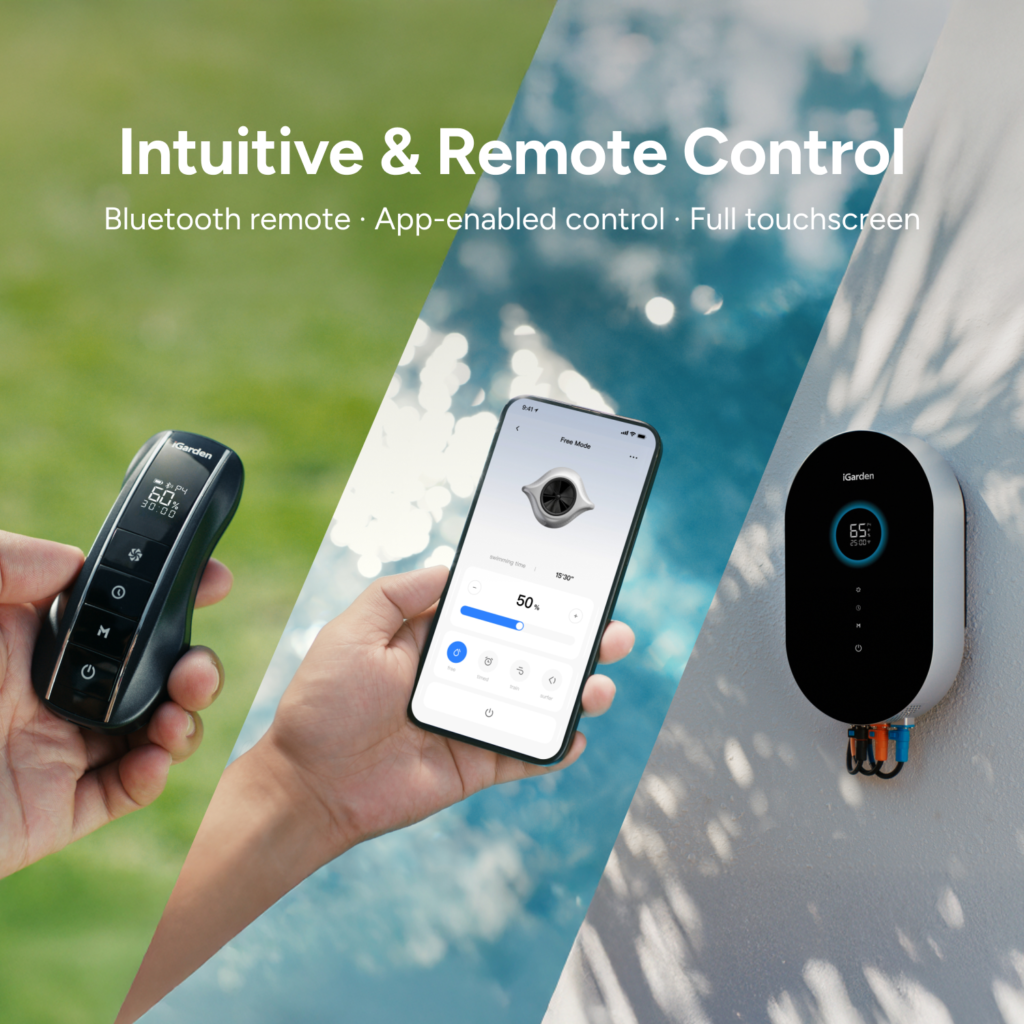
When selecting a model, prioritize systems with variable power controls that let you adjust current intensity from gentle rehabilitation flows to competitive-level resistance. This flexibility ensures the jet grows with your fitness rather than becoming obsolete as you improve. Gather essential tools and materials before starting: a masonry drill with appropriate bits, marine-grade sealant, PVC piping and fittings, Teflon tape, and a level. You’ll also need a multimeter for electrical work and potentially a wet saw if cutting through tile or concrete. On the safety and regulatory side, check local building codes regarding pool modifications—some municipalities require permits for structural changes or new electrical circuits. Confirm that your electrical panel can support the additional load, and plan for a dedicated GFCI-protected circuit, which most jurisdictions mandate for pool equipment. Consulting a licensed electrician during the planning phase can prevent costly mistakes and ensure your installation meets all safety standards from the outset.
Step-by-Step Guide to Installing Your Swim Jet
With your planning complete and materials assembled, it’s time to move through the installation process methodically. Taking a careful, step-by-step approach ensures a watertight, properly functioning system that will serve you for years of effective training.
Preparing the Pool Area and Gathering Equipment
Begin by lowering your pool’s water level to at least 12 inches below the planned installation point—full draining isn’t always necessary, but you need a dry working surface around the mounting area. Clean the wall section thoroughly, removing any algae, calcium deposits, or loose material that could compromise the seal. Using a tape measure and level, mark the exact mounting position on the pool wall, keeping the jet nozzle centered at a depth that aligns with your torso during swimming—typically 12 to 18 inches below the normal waterline. Lay out all tools within arm’s reach: masonry drill, appropriate hole saw or core bit, marine-grade sealant, PVC cement, fittings, Teflon tape, and safety equipment including goggles, gloves, and ear protection. Before drilling, use a pipe detector to scan the wall for existing plumbing or rebar that could interfere with your placement. Safety should guide every decision—ensure the work area is dry, electrical sources are disconnected, and someone else is present in case of emergency.
Installing the Swim Jet Unit: A Detailed Process
Core-drill the mounting hole through the pool wall according to the manufacturer’s specifications for your unit. Work slowly and steadily to avoid cracking surrounding tile or concrete, applying consistent pressure without forcing the bit. Once the penetration is complete, smooth any rough edges with a file to ensure a flush fit for the housing. Apply a generous bead of marine-grade sealant around the through-wall fitting before inserting it from the pool side, then secure the backing plate from the equipment side and tighten evenly to compress the gasket without over-torquing. Connect the jet unit to your plumbing using PVC piping, ensuring all joints are properly cemented and supported with hangers to prevent stress on connections. If your system operates independently from the pool’s main circulation—as many higher-performance models do—route dedicated suction and return lines to the pump unit. Install the variable power controller in a weatherproof enclosure accessible from the pool deck, running control wiring through conduit to protect it from moisture and UV exposure. A common mistake is positioning the jet too high or angling it downward, which creates surface turbulence rather than a smooth, deep current—double-check alignment before finalizing the mount.
Connecting to Power and Testing the System
Electrical work should ideally be handled by a licensed electrician, but understanding the process helps you oversee it properly. The swim jet motor requires a dedicated circuit run from your electrical panel, protected by a GFCI breaker rated for the unit’s amperage draw. All wiring between the panel and the motor must travel through weatherproof conduit, with connections made inside approved junction boxes. Once wired, verify correct voltage with a multimeter before powering on. Refill the pool to its normal operating level, then prime the pump according to manufacturer instructions and run the system at its lowest setting. Inspect every connection point—through-wall fitting, pipe joints, and pump housing—for any signs of seepage or dripping. Let the system run for at least 30 minutes while monitoring for leaks. Once confirmed watertight, gradually increase the variable power setting through its full range, checking that the current strengthens smoothly without cavitation or unusual vibration. Calibrate the power levels by marking settings that correspond to easy, moderate, and intense swimming resistance, giving you quick reference points for future workouts.
Maximizing Pool Utility with Effective Swim Training
Once your swim jet is installed and calibrated, the real transformation begins—turning every pool session into a purposeful workout. The variable power control is your most valuable training tool, functioning much like resistance settings on a stationary bike. For interval training, alternate between 30 seconds at high resistance and 60 seconds at a recovery pace, repeating for 15 to 20 minutes to build explosive cardiovascular capacity. Endurance sessions work best at a moderate, sustainable setting where you can maintain proper stroke mechanics for 30 to 45 minutes continuously, mimicking the demands of open-water swimming without the logistical challenges.
Beginners should start with the current set low enough to swim comfortably while focusing on body position and breathing rhythm—spending two to three sessions per week at this level builds a solid aerobic base. Intermediate swimmers benefit from structured workouts that blend technique drills at low resistance with sustained effort blocks at moderate intensity, perhaps swimming 5 minutes easy, 10 minutes steady, and 2 minutes hard in repeating cycles. Advanced athletes can simulate race conditions by programming high-resistance intervals that mirror competitive pacing, using the jet’s consistent current to refine stroke efficiency under fatigue. The steady, laminar flow also provides immediate feedback on technique flaws—if you drift sideways or feel uneven resistance, your stroke symmetry needs attention. Many pool owners who integrate their swim jets with smart home platforms like iGarden find it convenient to schedule automated pool heating and lighting adjustments that align with their training times, creating a seamless workout environment. Consistent training against adjustable resistance improves muscular endurance, joint mobility, and lung capacity while remaining gentle on the body, making swim jets particularly valuable for aging athletes or those recovering from injury who need effective exercise without impact stress.
Maintenance and Troubleshooting for Long-Term Use
Keeping your swim jet performing at its best requires consistent but straightforward maintenance. Every two weeks, inspect and clean the intake filter to prevent debris buildup that restricts water flow—a clogged filter is the most common cause of reduced jet power. Monthly, check all visible seals and gaskets for signs of deterioration, and lubricate any moving parts with pool-safe silicone grease to prevent corrosion. If you notice the current feeling weaker than usual, first clean the filter, then inspect the impeller for tangled hair or debris, and verify that the pump is fully primed without air pockets in the lines. Unusual vibrations typically indicate a loose mounting bracket or worn bearing that needs replacement before it causes further damage. Twice a year, have an electrician inspect the GFCI circuit and wiring connections for any signs of moisture intrusion or wear. These regular inspections take minimal time but dramatically extend the lifespan of your system, ensuring reliable performance season after season.
Transform Your Pool into a Personal Fitness Center
Installing a swim jet transforms your existing pool from a simple leisure feature into a powerful fitness tool that delivers real training value every day. As we’ve covered, the process begins with careful assessment of your pool’s dimensions, depth, and infrastructure, followed by methodical installation that prioritizes watertight seals and proper electrical safety. Systems like the P Series Swim Jet make this investment particularly worthwhile thanks to variable power controls that adapt to any fitness level—from gentle rehabilitation currents to race-pace resistance that challenges competitive athletes.
The beauty of this upgrade lies in its versatility. A single installation supports interval training, endurance building, stroke refinement, and low-impact recovery work, all without leaving your backyard. Combined with straightforward maintenance routines that keep the system running reliably for years, swim jets represent one of the highest-value additions you can make to your pool. If you’ve been searching for a way to make your pool work harder for your health and fitness goals, now is the time to move forward. The investment pays dividends in convenience, physical conditioning, and the daily satisfaction of knowing your pool is earning its place in your life—not just sitting idle between occasional dips.